
Would you like to know how to distress wood? There are many reasons behind producing the effect of distressed wood, and the good news is that this is very easy to do.
So, what we will do here is show you how to distress wood and explain the times and reasons you may want to do this. There’s no doubt that distressing wood can look wonderful, so we have a lot to get through.
Why Distress Wood?
But first, why bother distressing wood in the first place? Surely you can just get some reclaimed wood that is already distressed and just use that?
Well, that is certainly one option, but that’s boring when you can have so much fun with different wood distressing techniques.
Distressed wood has that weathered look. You can make new wood look like old wood, and it’s a whole lot easier than you think.
Having that distressed look can lead to the wood being used with many ideas. You can purchase some inexpensive wood and even raw wood that has never been stained or treated in any way, and in next to no time, you have something that you could use in some distressed furniture.
So if you don’t want that pristine, brand new look that comes with new wood, then producing some distressed wood is the best way to go.
Remember, Distressed Wood Isn’t Perfect
One key thing to remember here is that distressed wood will not be perfect. That is one of the fun things about this, as you get to bash up some wood to get the desired effect. People love using barn wood because it has been exposed to the elements and beaten up. Aged wood has taken a number of knocks, and notches have been ripped out of it.
Basically, we are saying that it is impossible to go wrong when it comes to knowing how to make wood look rustic, and that’s a relief.
We see this as a very fun DIY project: you can play around with ways to add and remove paint and employ different methods to roughen things up. After all, you are going for that rustic, age-old appearance, so as long as it looks beaten up and as if it has seen better days, then you have achieved your goal.
Distressing Wood: Several Methods
So when it comes to knowing how to distress wood, the first thing to be aware of is that you do have several methods and techniques available. Each one can work well in its own right when it comes to producing distressed wood, so we will go through the different methods before allowing you to choose which one is best.
Oh, this isn’t in any order of preference. It’s up to you to decide which method you prefer.
Method 1: Paint and Sand
The first method is the paint and sand method. It’s a method that works well if you want to create a distressed look on some wood furniture.
The key here is to paint the wood whatever colour you want. You don’t want it to look perfect, so use the dry brush technique when the paint is still not completely dry to roughen it up a bit.
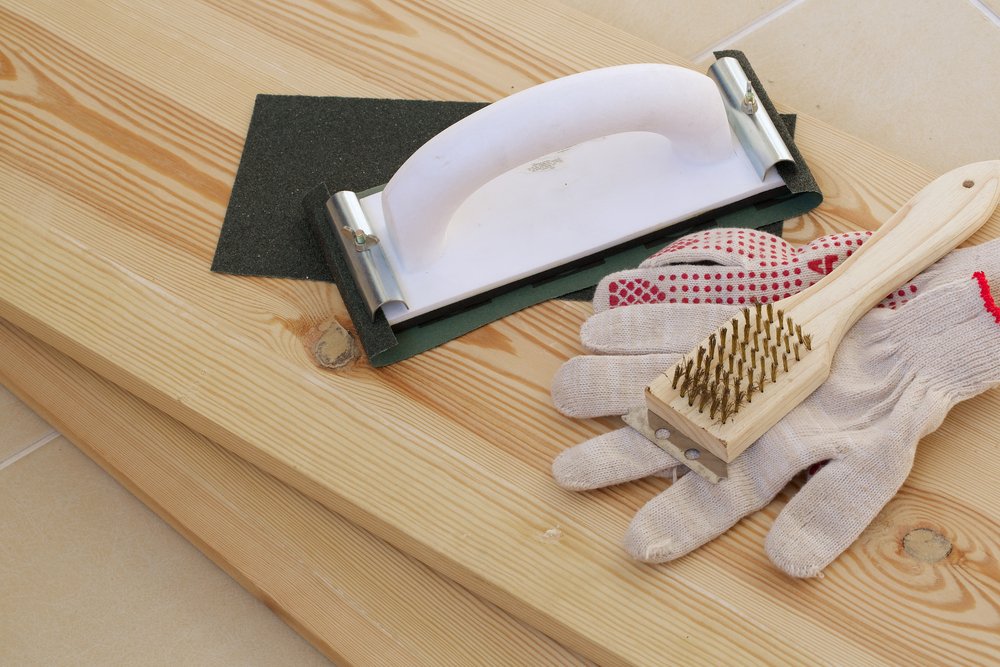
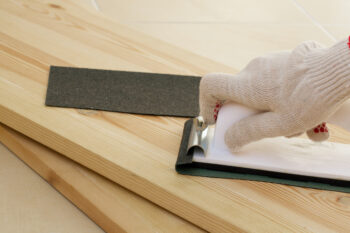
What you want to do, after the paint has dried, is to give the surface a light sanding. Focus on key areas where old furniture would be knocked and scuffed. That does mean focusing on the edges and where old paint would be worn down due to usage.
The aim here is to produce a wood surface that looks as if the item has not been painted for years. Also, if you want to add more depth to the wood, then you can repeat the process with different paint colours on the same item. However, you need to apply the same sanding technique to each layer and allow it to dry completely to get the best scratched and scuffed appearance.
Method 2: The Wax Approach
So you want to produce some painted wood, but make that new wood look old. One very effective method is to use the wax approach.
What you want to do is to apply the first coat of paint, but make sure it’s rough and not perfect. Allow it to dry, then take an unlit candle, and rub the wax over different areas on the wood. Apply wax wherever you want the aged effect to take hold.
After this, apply a different colour of the paint as a second coat, and then allow it to dry. Next, you want to take a cloth and wipe it over the piece of wood. The paint sitting on top of the wax will then come off. It will leave you with different colours of paint coming through.
Additionally, if you want to take things up a whole new level, you can get fine-grit sandpaper and roughen the paint up a bit.
Method 3: The Wet Paper Technique
This method is great, as all it involves is using some wet paper to create that old look. Get some paper, and rip it up into random lengths and shapes. Go crazy with it before placing the paper in some water and applying it to the wood.
As it is wet, it will stick to the wood, and you can then go ahead and paint the wood. It’s then up to you as to when you lift the pieces of paper off the wood. Some people wait until it’s dry, while others cannot wait that long. Either method works.
Method 4: The Dry Brush
The dry brush is a great paint technique to apply, and it’s also exceptionally easy to achieve a wonderful end result.
With this method, you will be able to make new wood look old instantly. You need a brush with hard bristles, and the harder, the better. When you get your paint or wood stain, the key is to dip only the tip of the brush into it and then remove as much of the paint or stain as possible.
Skim over the wood in various directions, and do it fast while forgetting about doing any smooth strokes. These are not needed here: you want the paint or wood to appear to have been scratched onto the surface.
The important thing here is not to build up layers but to give the wood a very rough coat of paint without soaking it. In doing so, you will end up with wood that looks older than its real age.
Method 5: The Scraper Technique
If you have never heard of this method, you are surely missing out! Note that while it is similar to sanding the wood, there is a slight difference.
With this method, you should paint the wood and only allow it to dry for a few minutes. After those few minutes have passed, you need to get a paint scraper and scrape off random painted areas. That alone will deliver a distressed look, and you can do it with multiple coats. However, if you use a number of coats, make sure each coat is fully dried before painting the next layer.
Method 6: The Wood Block
If you are looking to produce an exceptionally rustic look, then using a wooden block could be ideal.
It’s straightforward: get the end of a block of wood and use that as a brush. Dip it into paint and drag it across the wood.
This is one of the quickest and easiest methods to use if you want to know how to make wood look old when it is painted.
Method 7: Pouring Paint Technique
You could be forgiven for wondering how pouring paint over almost the entire surface of a piece of wood would work as a painting technique to distress wood, but it does indeed work.
Pour some paint onto the wood and then drag it across the surface with a scraper. The key here is to paint without covering the wood to such an extent that you cannot see the grain. Instead, you use the scraper to remove the paint from the top of the wood while it manages to sit in the notches and grain, giving it that ageing wood effect.
Methods Without Painting
The methods above refer to painting wood, but what if you don’t want to do that? Don’t worry, as there are other different ways to fake the wood age without applying white paint all over the place.
Knocking Up the Wood
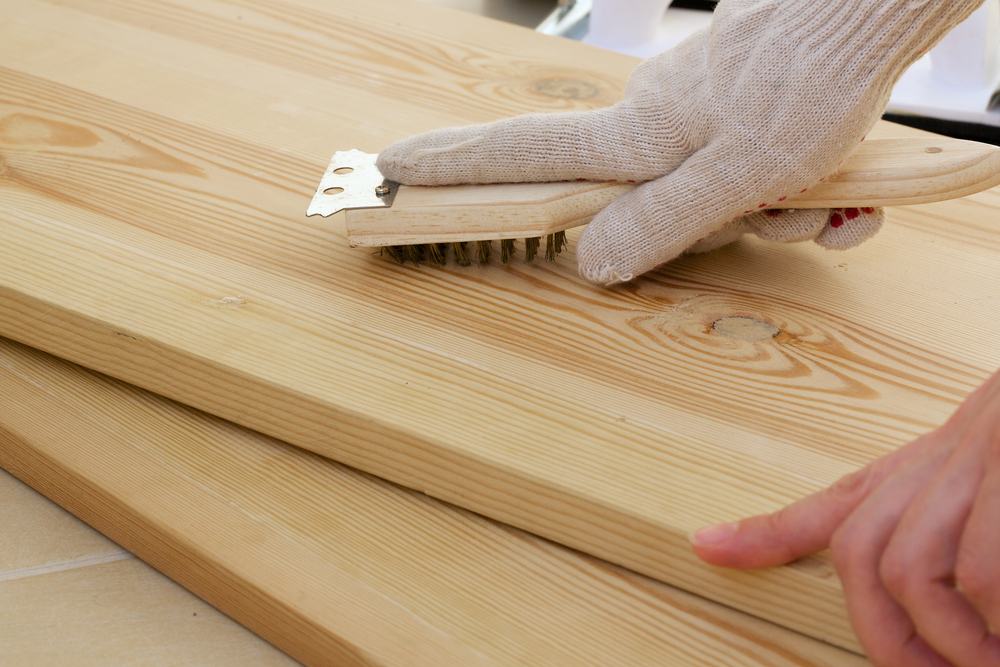
One method is to distress the wood by scratching and knocking holes and notches into it. A wire brush running over the surface can roughen things up and then wipe it down with a damp rag to remove dust.
Also, turn a nail upside down, and hammer the nail’s head onto the wood. It will create dents like notches, and that will also help.
Adding Stain
While applying wood stain is a great idea, it’s not the only method you may wish to use. Instead, you can create this vintage style in several other ways.
First, if you have a blow torch, then you can singe and burn parts of the wood with ease. Focus more on the edges and corners, as they take the most punishment.
Another option is to use black tea. For this method, get some steel wool and soak it in a vinegar solution overnight. Then, make some strong tea and let it steep for an hour. After that, use a brush to apply the tea stain before running over it with the vinegar-soaked steel wool.
Extra Tips
But here is one extra tip you should be aware of when knowing how to distress wood. Remember not to apply excess stain to the wood: adding layers and layers of stain doesn’t build character, and it’s that character you are actually looking for.
This steel wool method is actually good for some of the painted methods mentioned above. The key is the white vinegar as it reacts and does add more of a distressed look to things.
We would also recommend trying out the techniques on some scrap wood first. Doing this allows you to see which method works best for the final result you hope to achieve. The last thing you want to do is to ruin your piece of furniture just because you don’t fully understand what you are doing.
Distressing Wood With or Without Paint
And that’s it for our tips on how to distress wood: you can see that it’s not as complicated as you may have thought. The idea of taking even new wood and using different distressing wood techniques to produce something that looks so different is amazing. All you need to do is to find that piece of wood and get to work on producing your final result. You will be glad that you did when you see how things will turn out.
Knowing how to distress painted wood, or brand new wood, is something that everyone interested in DIY projects should know about. As you see, it doesn’t take a lot of tools, and the final result will undoubtedly blow your mind.
Do you know any other useful methods to distress wood? Or have you used any of the methods above and want to share the results with us? Let us know by leaving a comment below!
Additional Resources
- How to Waterproof Wood
- How to Restore a Wooden Garden Bench
- How to Apply Wood Preserver
- How to Paint Corners
- How to Prep Exterior Wood for Paint
Ian loves everything that revolves around the home improvement niche. He loves trying out new home appliances. He has also handled a lot of equipment and has a lot of insight. Plus, he’s worked on various home improvement projects that became a success. If Ian isn’t busy working on his latest project, you can find him reading up about another one!