
Learning how to paint corners can feel complicated. It’s easy for a roller or paintbrush to leave a streak of paint on the wrong wall, the ceiling, or somewhere else when you’re painting a corner. That’s why so many experts recommend using the right painting tools and methodologies to ‘cut in corners’ before you begin painting the rest of the room.
The good news is that you don’t necessarily need to be an expert to achieve the same results professional painters get when painting your corners. Today, we will look at some of the best steps you can follow to paint corners more effectively.
What’s the Best Way to Paint Corners?
First paint by me in the new house! Location is the loft. The color is Smoky Blue by Sherwin-Williams. The tape is because the texture of the wall makes it hard to find the corner easily enough to free hand the cutting in. pic.twitter.com/BPEjYp7AMP
— Alas (@KissMyAlas) May 6, 2022
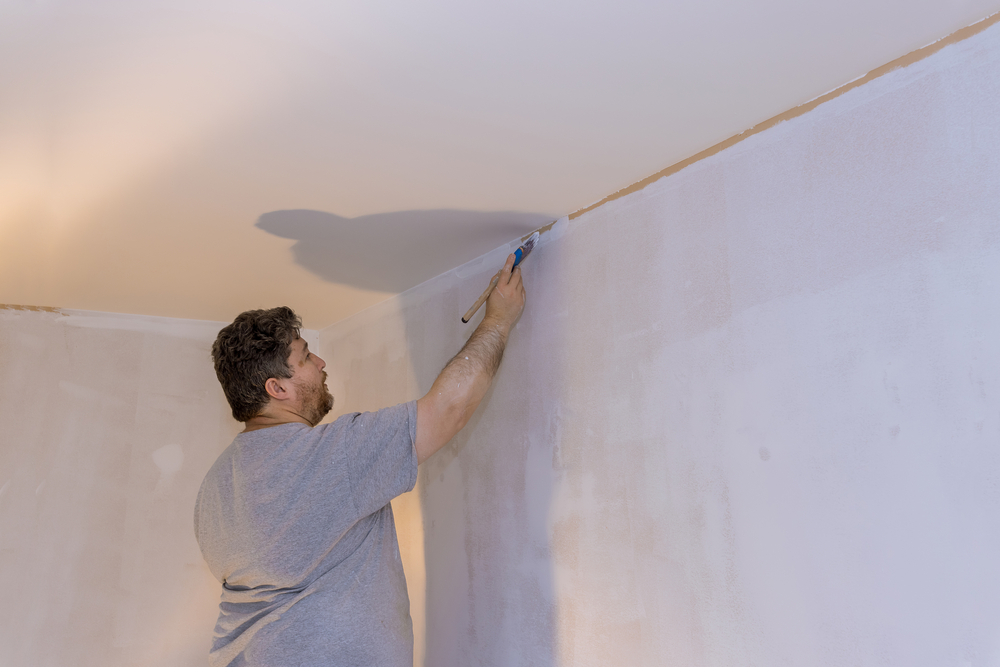
Learning how to paint edges between wall and ceiling areas and between opposite sides of a wall is essential to get a good result. The best way to master interior room painting is through regular practice and caution. Painting corners between the wall and ceiling can be complex as the angle makes it hard to avoid smudging.
No one expects you to be able to paint a perfectly straight line, even if you have a steady hand, so it’s often a good idea to use blue painter’s tape or masking tape to stop your paint from going over onto the wrong wall. After all, just a little vibration can be all it takes to ruin your straight line.
Place your tape on areas you don’t want to paint when you’re painting your corner, and make sure it’s pressed down tight so you don’t have to worry about the paint creeping under the edge of the tape. When painting corners, remember to:
Avoid Using Too Much Paint
Too much paint, especially water-based paint, can easily spill over onto parts of the wall you don’t want to touch. Never dip your trim brush more than a third into the paint because it will make it harder to control your paint job.
Have a Damp Rag Ready
Make sure you have a damp rag ready to remove any paint that creeps over onto another wall. The faster you remove the paint, the better.
Use the Right Brush
Avoid using a large brush on tight corners. It will make it easier to get paint everywhere, and you could end up with brush marks. Apply paint slowly and carefully, using just enough paint.
How Do Professionals Paint Corners?
When you’re ready to start painting the edge or corner of your wall, dip the paintbrush gently into the paint and apply paint from the very tip of the corner outwards. Press the tip of the brush into the wall below the junction between the ceiling, floor or wall. Gently rock the brush to nudge the paint into the corner. You can also use brushes with angled tips to help with this.
Move the brush downwards and out to extend the paint onto the wall. When the paintbrush no longer has enough paint to cover the wall, make a single stroke flowing parallel to the ceiling to help smooth the strokes.
When cutting a corner on a section where two walls meet, follow the same process, but first use strokes that go outwards and away from the corner.
How Should You Paint Edges and Corners?
I called the parent company and they had me send some pictures so they can have a manager decide what to do. This is one I sent. the corner of the base looks pretty rough and the corner of the wall is missing paint. Unacceptable. pic.twitter.com/kyDHq2bHtd
— Colin (@ColinJHawkins) January 29, 2019
Like most interior room painting, the more you practice painting windows, corners, and edges, the more confident you’ll become. Trim brushes help you get a more accurate cut in line, and angled sash brushes are for specific kinds of painting.
Here are some tips to help you get the best results.
Make the Most of Painter’s Tape
Apply painter’s tape to avoid any paint from seeping over. Avoid anything too sticky that might leave a fine line on your wall.
Use the Right Light
Make sure you have bright light available to track the paint release from your brush accurately and avoid leaving any brush lines. Work on only a handful of inches at a time, so you can layer thick paint on each section of the wall to get the right results.
Use a Bead of Caulk
Consider adding a small bead of caulk to textured walls and ceilings with a putty knife, then apply masking tape to the caulk. This will help to master cutting techniques.
Don’t Rush
Even if the paint starts drying, don’t rush the painting process. You’ll need to take your time when working on edges and the outside edge of your walls to avoid allowing the paint to spread onto other surfaces.
Try Painting Edgers
If you’re painting edges, or you want to add a specific trim to your wall, you can consider using painting edgers. These tools allow you to apply paint along the edge or into the corner of a wall with minimal stress. They’re particularly useful when painting the ceiling.
Use Drop Cloths
Carefully slide drop cloths onto all the surfaces underneath where you’re going to be painting. This will ensure you don’t get excess paint on the floor as you spread the paint on the walls.
Note: Some people use tape to cover the ceiling and still paint walls and edges with a roller, but it’s much easier to avoid leaving a mess using a brush. As you make your first pass and the second pass on your walls, remember to finish with the feathering step to avoid any streaks on the surface of your wall.
Should You Paint Corners First?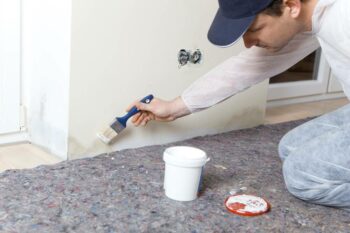
If you’re learning how to paint wall edges and corners, it might be helpful to paint them first.
When you’re painting the edges of your walls, if you haven’t already painted the rest of the wall, you can lean against it as you paint. As you make your second and third pass on the wall, gradually bring a thin layer of paint closer to the corners, skirting boards and edges while moving away from the wall.
As you grow more confident with touching the bristles lightly into the corners of your walls and painting trim becomes common practice, you can apply the paint in any order you like!
Paint Your Corners the Right way
And that’s how to paint corners like a professional.
There’s no one-size-fits-all strategy for painting the edge between a wall and a ceiling or painting along the edge onto the wall—the best way to cut in when painting is to find what works for you.
Additional Resources
- How to Paint Exterior Wood
- How to Hide Bad Walls Without Paint
- How Long Does Wallpaper Paste Take to Dry
- How to Change a Circular Saw Blade
- How to Use a Telescopic Ladder
Rebekah is a writer who loves to explore new products and find hacks that make life easier. She has a knack for all things home improvement, health and fitness. So you’ll often find her on Pinterest or browsing Houzz for ideas.
She’s always looking for the next thing to fix up around the house or what gadget might be just right for her lifestyle. Rebekah enjoys exploring new recipes, taking care of her family, and making sure she stays healthy with regular workouts at the gym.