
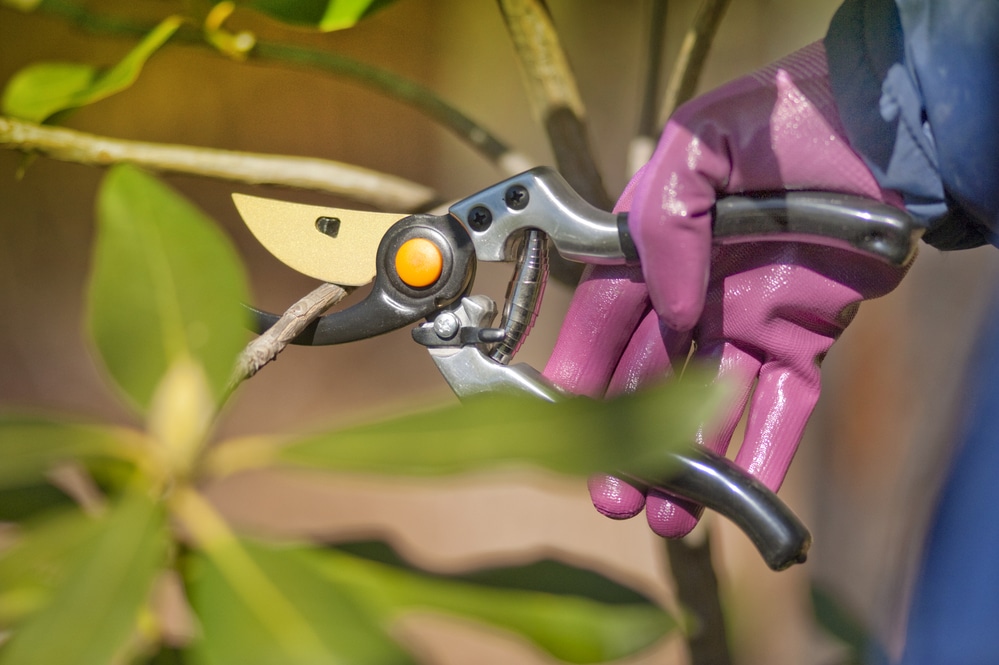
Secateurs are a must-have for any gardening enthusiast. They are durable enough to trim and shape hard branches and stems to keep plants in gardens healthy and perfectly shaped.
To keep your secateurs in excellent shape for longer requires care and maintenance. Your pruning shears will last longer and work better if they’re properly maintained and kept clean. In this guide, you’ll learn how to clean your secateurs.
How to Clean Secateurs in 5 Steps
Cleaning pruning shears isn’t as challenging as it seems. To clean your secateurs, you’ll only need an abrasive cloth and any multi-purpose oil.
Step 1: Test the Secateurs
 It’s always a good idea to test these garden tools to see how much cleaning and maintenance they require. Start by cutting a section of a bush or shrub. Ideally, the cuts shouldn’t rip or tear the branches or stems of the plants you are pruning. If you notice that stems are getting caught in the blades, this might indicate that they need sharpening or tightening.
Step 2: Take the Blades Apart
For efficient tool maintenance, remove the blades from the pruners via a bolt or screws. This process is pretty simple. Once you’ve separated the two pieces, slip off the spring coil between the handles. At this point, ensure that you keep track of the parts of your garden pruners.
Step 3: Clean the Metal Elements
Next, wipe away all residue and mud using fine wire wool or abrasive cloth. A smooth cloth just doesn’t do the job good enough. Gently cleaning the sharp edges with the cloth should remove any build-up.
Step 4: Oil the Blades
For the best cutting blade and to keep your pruners in tip-top condition, they’ll require oiling. Spread some multi-purpose oil onto the metal parts to avoid rust, remove plant matter, and keep the cutting parts well-maintained. You can choose to pour the oil directly onto the blades or the cloth and glide it through the length of the blades.
Secateurs have had a hammering recently so gave them a clean, oil and sharpen…plus full dismantle for the Felcos. Very impressed with Niwaki's crean mate. pic.twitter.com/r98QzFLc0t
— JAS (@JAS53851080) February 28, 2021
Step 5: Put the Pieces Back Together Again
Once you’ve cleaned and oiled your hand pruner, put the pieces back together again—using the screws and/or bolts that you removed in the beginning.
Sterilising Your Pruning Shears
Aside from cleaning secateurs, it’s a good idea to sterilise them for proper functioning, reducing the spread of plant disease and infection and preventing rust from forming. Each time you use bypass secateurs, the blades are susceptible to dirt, sap, and plant matter, and rinsing doesn’t eliminate any disease.
Fortunately, sterilising your garden tools does. You can easily do this by dipping the edges into an effective disinfectant that’ll kill pathogens. Below are some examples of sanitisers used by gardeners.
We carefully prune and clip every #heirloomtomato #plant and after each one is complete we disinfect our shears for sanitation and disease control. #BardwellFarm #behindthescenes #season2018 #supportlocalfarms #ag #agriculture #aglife pic.twitter.com/3kjUzQAQ1j
— Harrison Bardwell (@bardwellfarm) June 8, 2018
Bleach
This steriliser is cheap and effective, and it gets rid of everything on the blades—including dirt and microorganisms that are harmful to plants. Mix one part bleach with nine parts of water in a small bucket or container. Next, soak the tool in the liquid for at least 30 minutes and hang to dry.
Avoid placing the rubber handle into the bleach mixture because this is difficult to remove. Just like when you work in your garden, you may also want to wear protective clothing.
Household Cleaner
Another great sanitiser is a household cleaner, such as Pine-Sol or Listerine. Ensure that you dilute your chosen solution before applying it to the steel blades, again taking care to place the blades in at an angle to not soak the handles.
Rubbing Alcohol
Finally, look for 70–100% isopropyl alcohol (also called rubbing alcohol) for sterilising and cleaning secateurs. This sanitiser doesn’t require any mixing or soaking. Spray the pruners with this solution and immediately wipe to remove the layer of residue and all microorganisms that may cause plant disease. It’s an effective solution for killing pathogens, although you should wear a mask due to its harmful fumes.
Sharpening Secateurs: Step-by-Step Guide
You’ll need WD-40 or a similar product, sandpaper, and a sharpening stone for sharpening your secateurs.
Step 1: Clean the Blades
Remove any dirt and sap from the blades using a spray with WD-40 using sandpaper on both sides of the blade.
View this post on Instagram
Step 2: Sharpen the Blades
Use a sharpening stone and hold it flat on the blade. Rub the surface up and down, and turn over the blade and repeat this action on the other side and edge.
Step 3: Replace the Blades
If you notice that the blades are damaged or broken, it’s time to buy new ones. Separate the damaged blades from the garden tool and replace them with new secateur blades.
How Often Should You Clean Gardening Tools?
For the best gardening experience, prevent infection in plants, and keep your secateurs in excellent condition. It’s best to clean all your tools, including hedge trimmers after each use. However, you won’t always have to sanitise the blades after every use. Removing any visible soil and plant matter will help prevent a build-up of moisture, leading to the formation of rust.
Additionally, using oil on secateurs will remove any hard-to-remove stains, so you can do this after every 5th use, depending on how much you use your pair of hand pruners. You might need to scrub the area for stubborn stains, then use a cloth to wipe it clean and dry. For quick garden maintenance, you can wipe down secateurs with bleach.
Keeping Your Gardening Tools Clean
Learning how to clean secateurs and other tools is an important part of gardening. As they say, a man is only as good as his tools. Aside from cleaning, don’t forget to sharpen your pruners for easier trimming of your plants.
If you’re a gardening enthusiast and have some tricks on how to keep your tools in excellent shape, we’d love to hear from you. Please share your best tips in the comments, and we hope you find value in our DIY guides.
Additional Resources
Amy is a U.K.-based writer and editor with a penchant for helping consumers find the best home products for their needs, as well as providing easily digestible guides for living better at home. Her dedication to her work means she can usually be found elbow-deep in research or hunting down samples of the latest and greatest on behalf of her readers.
An avid DIYer herself, Amy’s passion lies in teaching others how they too can achieve their dream homes by tackling some of those pesky projects themselves! Whether it’s building furniture from scratch or turning an old dresser into a coffee table, Amy is always happy to share what she knows about making your house feel like home without spending a fortune.