
Are you wondering how to replace a strimmer wire?
Your strimmer is a valuable tool for garden maintenance. It allows you to tackle jobs that your lawnmower won’t reach. If you have a small garden, you might prefer to use the trimmer technology and nothing else to keep your yard in shape.
Unfortunately, like all devices, a string trimmer will also need regular maintenance to keep it working as it should. Knowing how to replace your trimmer line when it breaks means that you don’t have to buy an entirely new set of power tools every time you have an issue with your strimmer.
Today, we’re going to give you the guidance you need to replace the string in the trimmer head of your strimmer without any fuss or headaches.
These step by step instructions should be easy to follow. Remember, though, when replacing strimmer line on your trimmer, the first step should always be to look for guidance from the manufacturer on everything from line diameter to line width.
It’s not every Sunday you get to put a fresh reel of wire in your strimmer. What a day!
— Dave Hassall (@dhassallwafc) October 18, 2020
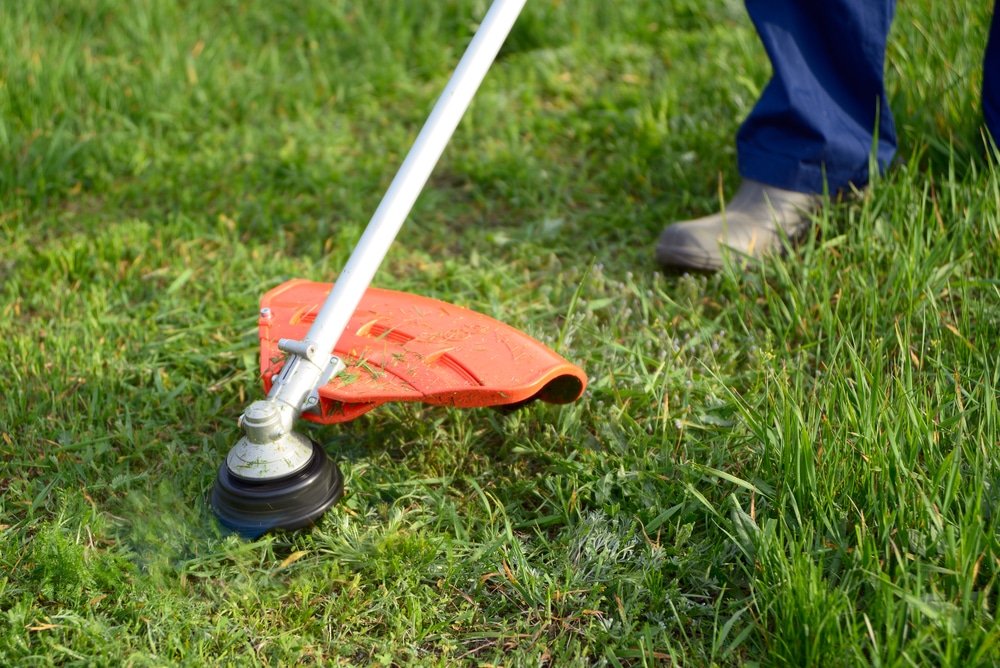
Replacing the String in a Standard Strimmer
If you’re replacing the cord in your standard string trimmer, start by turning the device off and making sure you have a length of line appropriate to your device. You should be able to find the kind of thread you need for your strimmer by looking at the existing spool in the trimmer head or by talking to one of the professionals who sold you your strimmer.
The length and width of the reel you need will depend on the kind of trimmer you’re using, as well as its engine size. Remember, if you buy the wrong kind of string, and add that to your trimmer line, then your device might not work properly, and it could end up breaking entirely.
If you’re not sure what kind of strimmer size line your trimmer users, you can look at the manufacturer website for more guidance or search for the name of the product online. You should be able to find some basic pieces of information this way.
After turning your trimmer off, remember to leave the engine to cool down for a while before you start replacing the trimmer string. This way, you can reduce your risk of any dangerous accidents.
Satisfying that. Need a strimmer though. pic.twitter.com/MmRmdXfIW6
— • Tom Snelling • (@TomSnelling) March 30, 2021
Replacing the Strimmer Line Carefully
If possible, look within the box that your trimmer came in for any instructions—using the instructions provided by the company that made your strimmer will reduce your risk of any accidents. If you can’t find the instructions included within the box or have a problem understanding something, look on the manufacturer’s website or ask people online for more information.
Cut the line you need to the right size and keep it close at hand so you can grab it when you’re ready to apply it to your strimmer. Remove the cap from the trimmer head. Usually, you will need to unscrew the head or press a button or series of tabs on the side of your tool to release the loop spool within. You can usually figure out how to remove the spool by using the arrows outside the device. If you have any problems, contact the manufacturer.
My strimmer has run out of wire. #dulltweet
— Red Sky At Night (@redskyatnight) May 5, 2018
Remember that it’s better to cut a string of the wire that’s too long than one that’s too short. You can always trim the string later, but you can’t add more length if you discover that it’s not covering the full width of the strimmer head.
When you have the length of the wire and your spool available, locate the starter hole in the trimmer spool. You should be able to insert the trimmer line into this hole. Carefully, begin to wind the bottom of the strimmer around the wire, following the arrow direction on the sides of the device. If you can’t see an arrow, you can look for insights into how to use the starter holes in the instructions.
Remember, you should carefully place the wire in the holes or eyelets, winding the wire tight to avoid any jamming later on. When there are about 5 or 6 inches of line left in place at the ends of the strimmer line, you can snap it into the trainer on the spool to keep it in place.
Line the retainer with the slot on the outside of your trimmer head to make sure it’s ready to go. Don’t forget to attach the cap to the trimmer again after replacing the spool. Keep your hand and other body parts away from the reel and spool when starting the device again.
Lihat postingan ini di Instagram
Changing the Line on a Double-Line Strimmer
If you have a double line strimmer, then you might need to follow different instructions to replace the spool than those mentioned above. Once again, you’ll need to find the reel that’s best suited to the lines in your strimmer now. You can look for insights into what kind of thread line to use with your spool by checking the strimmer wire already available or check the instructions.
It’s important to be extra careful about getting the right kind of line for your reel, or this could be the thing that means you can’t complete your gardening job.
Prepare the line, cutting a length of thread that’s long enough for the spool or reel, according to the instructions provided by the manufacturer. Again, remember that it’s better to have a line that’s too long than one that could be too short for your grass.
Ensure the engine on the trimmer is turned off before you begin removing things at the top or bottom of the device. When you’re ready, remove the retaining cap from its place on the top of the trimmer head. It will usually involve unscrewing it from the blade or motor section or following step-by-step instructions for popping various tabs.
ma dads went into b&m for strimmer wire n they try sell him a full strimmer????????????
— mrs roofe (@stoanysloany) July 29, 2020
Just like you would for a single line strimmer, locate the spool within the trimmer and remove it. The next step is replacing the strimmer line with your strimmer wire replacement. Make sure that you place the pieces of strimmer wire correctly through the starter holes in your spool. The rows of wire you create should go around the full diameter of the spool to prevent jams when you begin using the device later.
Ensure the lines are correctly positioned in the hole or eyelet sections provided, and wrap the line around the spool in the one direction advised on the reel or the device itself. You might be able to see an arrow on the sidebar to help you with this. Wrap the lines as neatly as you can; otherwise, you may need to redo the entire thing.
Remove the lines from the retainers after you have finished wrapping one line and the other around the reel. Place them through the eyelets on the outside of your trimmer head, which you’ll use to cut your grass. Replace the reel and spool into the trimmer head, and pull the lines through the slots to slot everything into place. The last step involves replacing the retaining cap.
Lihat postingan ini di Instagram
Maintain Your Strimmer
Now that you know the step by step process of how to replace a strimmer wire, it’s time to start tending to your garden.
How was your experience replacing strimmer wire? Let us know in the comments below.
Additional Resources
- How to Clean Decking Without a Pressure Washer
- How to Use a Pressure Washer
- How to Apply Decking Oil to a New Timber Deck
Rebekah is a writer who loves to explore new products and find hacks that make life easier. She has a knack for all things home improvement, health and fitness. So you’ll often find her on Pinterest or browsing Houzz for ideas.
She’s always looking for the next thing to fix up around the house or what gadget might be just right for her lifestyle. Rebekah enjoys exploring new recipes, taking care of her family, and making sure she stays healthy with regular workouts at the gym.