
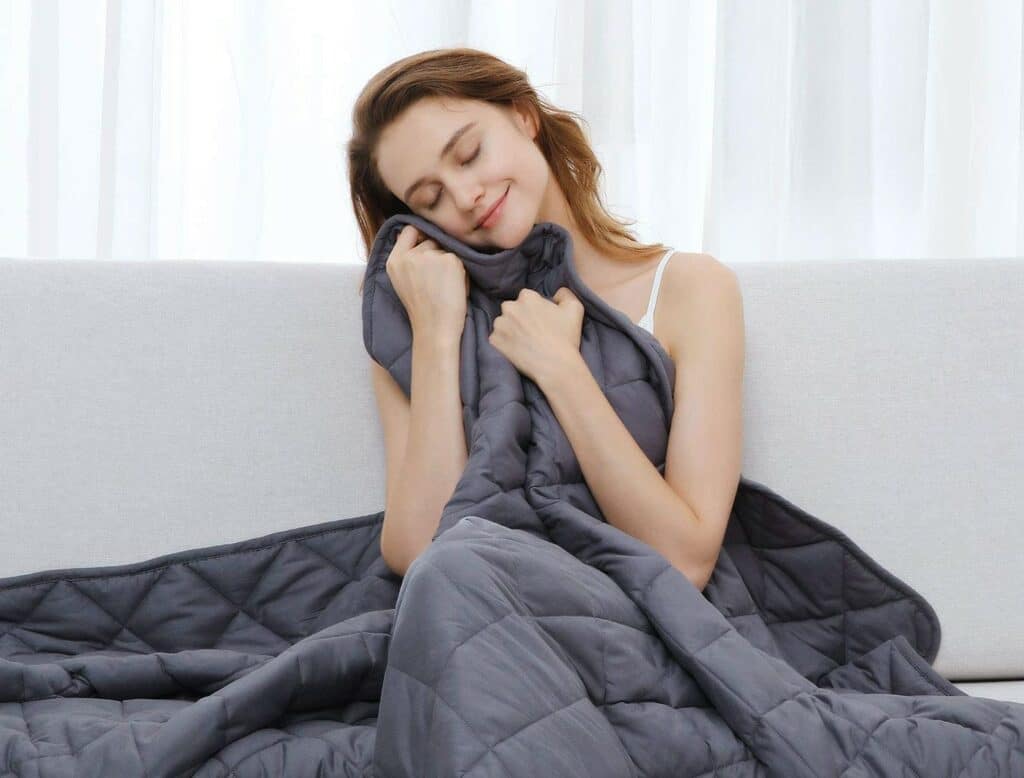
If you’re considering making a weighted blanket to cure insomnia, deal with overstimulation, or to sleep better, you’re in the right place. In this article, we’ll share some step-by-step instructions on how to make a weighted blanket without the cost of a store-bought one.
Continue reading to also learn how to choose the best materials as well as the multiple benefits of the finished product.
Can You Make Your Own Weighted Blanket?
There are so many benefits to using a weighted blanket, but buying one can be expensive. Fortunately, making your own weighted blanket can cost a fraction of the price and allows you to customise the design, colours, weight, and blanket size to suit your needs. This DIY version should only take several hours to create. But you’ll need to be patient and visit the fabric store to choose the best materials to your liking.
View this post on Instagram
How to Make Your Weighted Blanket
Basic materials for making weighted blankets:
- Kitchen scale
- Scissors
- Ruler
- Tailor’s marker
- Pins
- Needles
- Sewing machine
- Durable fabric
- Plastic filler beads
Step 1: Choose the Right Size and Weight
Begin by deciding what size you want your weighted blanket to be. It can be as large as a quilt if that’s what you’re looking for. But the main purpose is that it covers at least one person. Take the fabric and calculate how many squares you will need to hold the weighted plastic beads. The measurement of squares can be 3 t0 5 square inches. Hence, the overall size of the blanket should be a multiple of the chosen square size in addition to the four-inch allowance for the edges.
As a general rule, weighted blankets should be around 10% of your body weight. Therefore, you might need to weigh yourself on a scale to calculate the overall weight and size you need. Once you’ve done that, calculate what weight the blanket should be. Divide this number by the total number of squares in the blanket.
A friend has speculated that the reason Flash loves my weighted blanket so much is that it perhaps feels like this? pic.twitter.com/Z4lyZWo4QS
— jazmin (@jazminre_) March 8, 2021
Step 2: Begin the Sewing Process
Now it’s time to start sewing the weighted blanket (using a sewing machine or by hand). Begin by marking two inches from the edge of your chosen fabric. After this, mark a grid of squares (you can decide what square size you want to use). Sew the front and back pieces, leaving a 3/8-inch seam allowance. Then, sew the two long sides and one short side, leaving the top open.
Now, it’s time to turn the blanket right side out and open all of the seams. Make sure to leave a short distance from the open side and spare a 1/4 inch from the edge. Then, starting two inches from the open side, sew across the marked lines. Continue sewing the two long sides and the bottom. You can also backstitch at the beginning and the end. This inner topstitching is where you’ll place the weighted beads.
Step 3: Sew Edges in the Marked Lines
Next up, sew all of the vertical channels on the marked lines. Start at the closed bottom edge and begin your stitching just over the line of stitching that’s nearly two inches from the inner edge. Make sure to backstitch at the beginning and end.
When you’re sewing lines, it can be useful to start at the centre and sew the next lines near the centre of each section. Using this process can help to keep you on track with sewing and prevent the fabric from bunching up.
Step 4: Add the Weighted Beads
Now it’s time to add some weight to the DIY blanket. Take a scoop of beads and add them to each section. The scoop should hold the exact amount that you considered for each square, so ensure that you use kitchen scales to calculate this weight. Once you’ve added beads to each section, it’s time to shake them to evenly distribute the weight.
Step 5: Sew Across Each Section of Beads
Once the beads are added to the weighted blanket, use pins to keep the beads in place and away from the marked horizontal lines. Take extra precaution to not sew over any of the beads. With each stitch you make, make certain that you’re supporting the blanket by gently holding it down. Doing so ensures that the beads are properly secure and that you’re not pulling your stitches as you’re doing them.
Step 6: Complete the Finalised Weighted Blanket
Finally, it’s time for the finishing touch. Once you reach the top of the blanket, sew the last rows of each square. Fold the edges of the open size inwards by around 1/2 inch.
The Best Materials for a DIY Weighted Blanket
Part of knowing how to make a weighted blanket is choosing the best materials. This includes opting for a fabric that’s soft, comfortable, and nurturing.
Cotton
This fabric is one of the most popular options for a weighted blanket because it’s smooth to touch, durable, and easy to care for. It’s also ideal for hot sleepers, as it’s a breathable fabric that won’t make you overheat.
For a cheaper material, you could opt for cotton with a combination of polyester. However, bear in mind that polyester isn’t as breathable as cotton, making it less ideal for use in summer or for hot sleepers.
Fleece
Alternatively, if you’re a cold sleeper, a fleece weighted blanket might be the best option for you. This type of fabric is soft and tactile to touch. Plus, it retains heat well. Furthermore, fleece blankets are one of the best options for sensory individuals looking for additional sensory input. They’re also a great choice for older people who tend to feel the cold more or those wanting to have their heating on high as often.
Bamboo
Another fabric to consider is bamboo. This is an ideal choice if you find that you sweat or overheat while sleeping. It’s actually considered a cooling fabric that’s designed to wick moisture away from the body, leaving you cooler and sweat-free.
Types of Beads to Use Within the Blanket
Furthermore, you’ll also want to consider the filling that you use to create the weighted blanket. There are several to choose from and each has its own benefits.
View this post on Instagram
Plastic Poly Pellets
Poly pellets are a popular filling choice for weighted blankets and often used in stuffed animals to keep them standing upright. These pellets are made from 100% polypropylene and are safe to use around children. The design of the pellets is flexible and easy to adjust in shape. This allows you to manipulate the blanket when tossing and turning through the night. In fact, it’s important that the blanket can adjust to your body’s contour.
Fortunately, these beads aren’t very expensive, are non-toxic, and even washable. It’s particularly important that the beads you choose are safe because you’ll be submerging the blanket in water or perhaps you’ll be using it around children and pets.
On the other hand, these pellets can form an uneven, lumpy texture in the blanket. There are some blankets that work better with these beads, such as fleece. These soft fabrics can eliminate the lumps and roughness that the plastic pellets may cause. Alternatively, the pellets don’t work well with cotton, because they can provide a lot of noise with movement and make the blanket feel uneven and rough.
Micro Glass Beads
Another popular filling choice is micro glass beads. These are tiny fillers that remain smooth within the blanket. They’re environment-friendly (as opposed to plastic pellets), are hypoallergenic, and safe to use in a dryer. They are a slightly more expensive alternative, but the benefits outweigh the additional price.
Furthermore, glass is a preferred option if you are a hot sleeper. This is because the material is generally cooler than other fillers, helping to prevent you from getting too hot while you’re in bed. And, as each glass bead weighs more than a plastic alternative. Hence, you’ll find that you require less in your homemade blanket, making it less bulky and prevent them from clumping up together.
Thank you for making me aware that a weighted blanket is even a thing. Hadn't realised just how bad my sleep was until I got some good nights. What a difference!!
— ???? Amy ????????️ ???? (@barcz) March 6, 2021
Steel Shot Beads
Larger and heavier than glass, steel shot beads are completely smooth, helping to keep your DIY weighted blanket as soothing and comfortable as possible. They’re also large in size. Meaning, your blanket requires fewer of them and less likely to form clumps. This excellent weight distribution is ideal for tossing and turning. The larger size and weight also makes them a safer option to use around children, as there’s less chance of falling through any loose stitches of the blanket.
Finally, this filling is highly durable and never wears out. The smooth surface prevents a build-up of dirt and fluff, encouraging them to move around the blanket easily and evenly while also keeping your DIY weighted blanket clean.
The Benefits of Using Weighted Blankets
If you’ve never used weighted blankets before, let’s explore some of the top advantages of owning one.
Helps You to Sleep
We all know how important sleep is. So, if you’re not getting enough or you struggle to fall asleep, a weighted blanket can actually help you to drift off deeply and soundly. Its deep-touch pressure stimulates serotonin – the natural hormone that aids you to feel relaxed, which makes you feel more rested. This is great if you suffer from insomnia. It will help you experience a good night’s sleep.
Uplifts Your Mood
It’s not always easy to turn a bad mood into a good one. But if you’ve had a bad day or are experiencing a difficult time in your life, weighted blankets can boost your levels of serotonin. It will allow you to feel calmer and less anxious or frustrated. Deep pressure stimulation works by reducing cortisol (your stress hormone) to help you to relax, improve your mood, and get rid of sadness. It works in the same way as receiving a hug.
Controls Panic Disorders
If you have a panic disorder, it may mean that you have panic attacks happening for no apparent reason. Fortunately, weighted blankets allow you to feel less vulnerable and safer in your environment. They help you to sleep better, feel refreshed, and generally alleviate anxiety the following day. By increasing the calming hormones in your body, you’ll feel less tense as a result.
Helps With a Sensory Processing Disorder
Another huge advantage to weighted blankets is helping with a sensory processing disorder such as autism, or anyone with special needs. Placing the blanket on top of you can ease pain and make you feel more comforted by its gentle and soothing pressure.
Deep pressure stimulation produces a calm and relaxing effect that’s known to help people with high levels of anxiety. In this sense, weighted blankets can be perceived as a self-soothing tool that aids to make you feel safer and more comfortable in your environment.
Ready to Start?
Making your own weighted blanket can be a lot of fun. We hope these tips and instructions allow you to craft the perfect type of weighted blanket for you. But if you have any additional information or something you’d like to share, such as fabric choice, recommended blanket size, and more, let us know your thoughts and feedback in the comments. Knowing how to make a weighted blanket can be a helpful resource for many people struggling with insomnia or sensory disorders.
We hope this guide finds the right people.
Additional Resources
Amy is a U.K.-based writer and editor with a penchant for helping consumers find the best home products for their needs, as well as providing easily digestible guides for living better at home. Her dedication to her work means she can usually be found elbow-deep in research or hunting down samples of the latest and greatest on behalf of her readers.
An avid DIYer herself, Amy’s passion lies in teaching others how they too can achieve their dream homes by tackling some of those pesky projects themselves! Whether it’s building furniture from scratch or turning an old dresser into a coffee table, Amy is always happy to share what she knows about making your house feel like home without spending a fortune.