
Blackout curtains are a great way to block light, noise, heat, and cold in a room of your choosing. They make a great addition to bedrooms and nurseries. In addition, they are becoming quite popular in other house rooms due to their ability to provide a greater degree of insulation. If you are thinking about making your blackout curtains, you should check out our guide here.
Blackout curtains have specific care instructions and can not be treated the same as traditional cloth curtains. Often, new blackout curtains can arrive with wrinkles and creases caused by being folded up inside the packaging. They can also become wrinkled if you wash them.
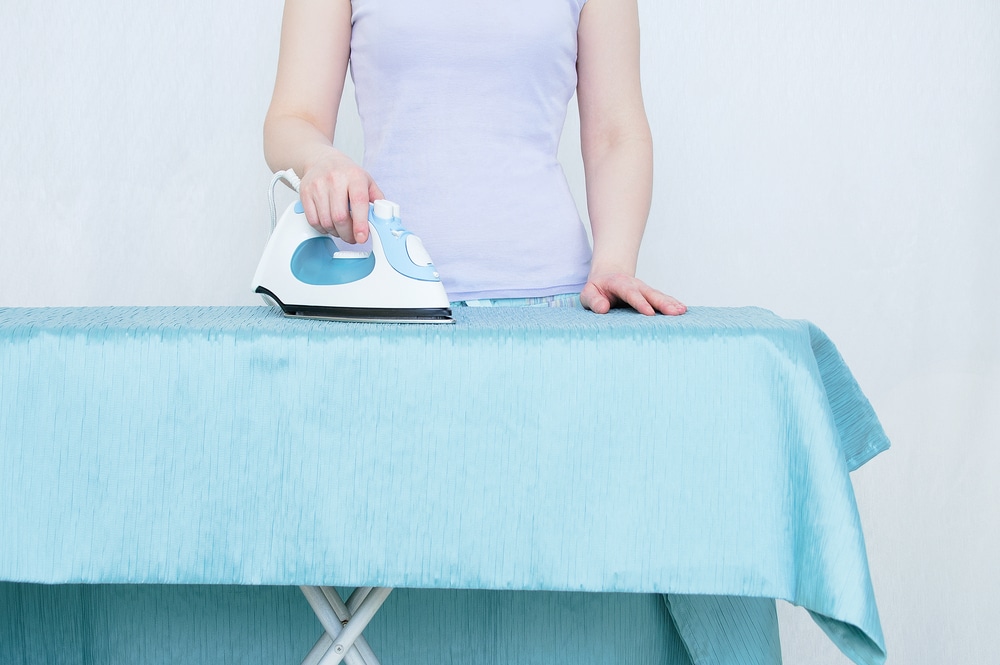
While many of the wrinkles may fall out after a few days of hanging on a curtain rod in your window, you can easily speed up this process by ironing them. You will, however, have to take special care to protect the fabric and insulation material.
This article will teach you how to iron blackout curtains in a way that protects the integrity of your curtains and your iron. We also answer other common questions about caring for blackout curtains the right way and exploring alternative methods for removing wrinkles that do not require physically ironing them.
Before Anything Else
Before we go through the steps on how to iron blackout curtains, there are a few things you need to do first.
Read the Care Label
The first thing we recommend you do when ironing wrinkles out of your blackout curtains is read the care label. The care label will have information about caring for your specific curtains in the best way possible. For example, you will find specific requirements on how to wash blackout curtains. In case you did not know, some of them can be machine washed, some dry cleaned, and some only recommend you hand wash them.
What Will You Need?
You will also want to gather your supplies as a preliminary step. Aside from your curtains, you will need the following items to get rid of wrinkles when using our method:
- Ironing table
- Iron
- Aluminium foil
- A bed sheet
- Chair or stool (optional)
Ironing Blackout Curtains: Step-by-Step Instructions
Follow the steps below to make sure you are ironing your blackout curtains properly.
Step 1: Cover Your Ironing Table With Aluminium Foil
Start by setting up your ironing board in an open area that provides you with enough room to freely move around it while still being close to a mains outlet. Then, cover the top with a single layer of aluminium foil. When you start ironing, the aluminium foil will help distribute the heat on the bottom side of the blackout curtains, helping remove the wrinkles and creases.
Step 2: Turn on Your Iron to the Lowest Heat Setting
When your table is all set, plug in your iron and turn it on to the lowest temperature setting. Wait a few minutes before moving on to the next step, so your iron has time to get hot.
Step 3: Place the Curtain on the Table Insulation Side Down
Place one of your blackout curtains on the ironing table with the insulation side facing down. You never want to iron the insulation side of your blackout curtains as the material will rapidly melt.
This could not only damage your curtains but could damage your iron as well. However, thanks to aluminium foil placed beneath, ironing the fabric side of your curtains should be enough to remove wrinkles and creases.
Step 4: Cover the Curtain With a Bed Sheet
Next, cover your curtain with a clean bed sheet. This protects the curtain fabric and should prevent any shiny spots or burns from developing on the fabric side of your curtains. Finally, smooth the sheet out and make sure there are not any creases in the material.
Step 5: Iron Out the Wrinkles Section by Section
Starting with one section, glide the iron over the layered sheet and curtain using medium to firm pressure. Take care to move continuously and slowly until all of the wrinkles have been removed. Then, readjust the curtain and move on to the next section until you have ironed every part of your blackout curtains.
You can try hanging excess curtain fabric over a chair or tall stool to keep it off of the floor while you are ironing. Whether you try using a chair or not, make sure not to let the curtain fabric hang or lie in a way that will cause fresh wrinkles to develop.
Step 6: Rehang Ironed Curtains Immediately When Done
After removing all of the wrinkles in your blackout curtains, please turn off your iron and unplug it from the mains power source. For the final step, hang your curtains on their curtain rod immediately so that fresh wrinkles and creases don’t get a chance to develop.
Other Things to Consider
Below are some of the common concerns of people when ironing blackout curtains.
How Do You Get Wrinkles Out of Curtains Without an Iron?
As it turns out, ironing curtains isn’t the only way to get rid of wrinkles, even with the somewhat delicate structure of blackout curtains. Steam is also a great wrinkle releaser and can be used quite effectively in a couple of different ways.
A garment steamer, steam cleaner, or a steam iron that still works when held upright can be used to steam out wrinkles while your curtains are hanging on the rod. If you attempt this method, start from the top and work your way down, doing one side at a time – we like doing the side facing the window first. Also, do not touch the fabric with your steaming device, move slowly, and get help from someone else to hold the curtains somewhat taught while you work.
You can also use shower steam in your bathroom to get the wrinkles out of your blackout curtains. Just hang them over your shower curtain rod and turn on your shower using only hot water. Allow the steam to develop and fill the room, and then turn off the water. Next, close the bathroom door and leave the curtains to hang in the steam and heat. After a couple of hours, the wrinkled appearance should be smoothed out by the steaming effect.
You can also try using a wrinkle removing spray on your blackout curtains. While a spray can release a significant amount of wrinkles and creases, it probably will not work as well as ironing or steaming.
Can You Put Blackout Curtains in the Dryer?
A dryer can often be used to get the wrinkles out of fabric. However, this may not be an appropriate option for you due to the layer of insulation found in many blackout curtains. Some blackout curtains can go in the dryer, and some can not. The care label on your curtains will tell you whether or not yours can.
If your curtains are dryer approved, we recommend putting a damp towel in the dryer with them. The damp towel will help to release stubborn creases and wrinkles. Also, always set your dryer to the lowest temperature setting and on a delicate dry cycle. Check the progress after about 15 minutes and hang them back up on their curtain rod as soon as they are wrinkle-free.
Ironing It Out
Ironing your blackout curtains should be easy, now that you know how to do it in a way that won’t damage the material. Blackout curtains come with a series of benefits that include better insulation against heat, cold, and noise and, of course, the ability to block out sunlight completely. As long as you take care of them using special care, they should be quite durable.
Let us know what you think in the comments below.
Additional Resources
- How Do Massage Chairs Work
- Why Should You Get a Gaming Chair
- What Type of Floor Lamp Gives the Most Light
- How to Empty an Inflatable Hot Tub
- How to Sit at a Desk
Emily is a woman of many talents. She has a B.A. in English and enjoys writing. Emily loves accessorising her home with quality products that not only serve a purpose but also enhance the overall convenience and tranquillity of her living space; there’s nothing like coming home to your own personal sanctuary after a long day! She loves anything that can make life easier or more comfortable—from dishware to furniture to lighting fixtures.