
Are you wondering how do you install an electric shower?
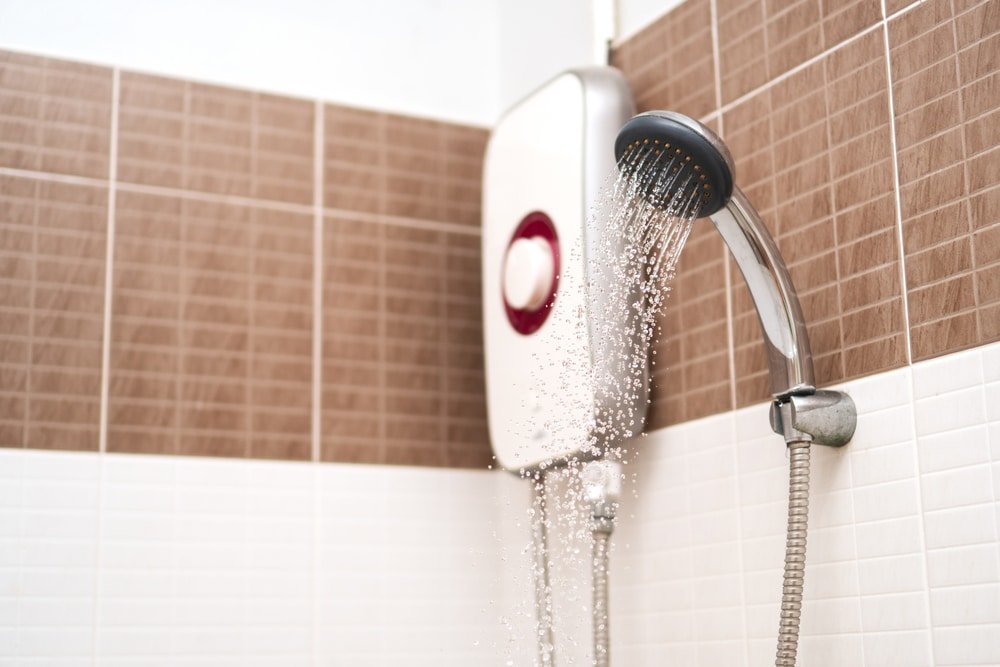
An electric shower is an energy-efficient device that heats water in a short period.
Since an electrical shower uses an electric current to heat water, you must observe the shower’s correct installation to prevent injuries. Installing a shower can be done in a few hours. With the right tools, you can easily fit an electric shower on your bathroom wall.
However, you have to make sure that your bathroom has the right fittings. If it doesn’t have the right fittings, you can contact a professional who will help you install such fittings in your bathroom.
In this article, we are going to show you how to install your electrical shower.
Requirements for an Electric Shower Installation
Water Supply Requirements
An electric shower works right when it’s connected to an efficient water system. These are some of the requirements that your water source system should have:
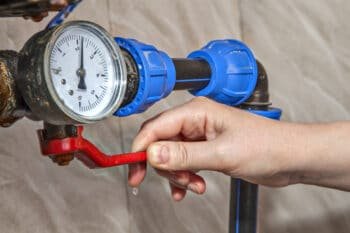
- Water pressure from the mains water source should be at least 1 bar.
- The rate of water flow should be at least 8 litres in a minute.
- Static pressure should be 10 bars.
Plumbing
An electric shower should be connected to the cold water supply system with a 15 mm plumbing pipe. If your bathroom doesn’t have suitable pipes, you can contact a plumber. A plumber can position a water pipe strategically, improving the water connection between your shower unit and your plumbing system.
Electricity Supply – Electric Cables and Fuses
The electric cable’s size might differ, depending on the electric shower you are planning to install. The type of fuse may also vary, depending on the shower you are planning to install.
If your bathroom doesn’t have a power outlet, you should contact an electrician. It might be quite risky to work on electrics if you do not have any expertise in that area. An electrician can fit an electrical element easily.
Step By Step Guide to Installing an Electric Shower
Step 1: Preparation
Start by testing whether your electrical supply is working or not (you can contact an electrician if your electrical supply is not working efficiently). After that, switch off the power from the consumer unit. Use the pole switch to switch off the electricity.
The next thing you need to do is turn off the cold water supply unit; this prevents any leakages from happening.
Step 2: Removing the Previous Shower
If you had fitted another shower in your bath, you need to remove it.
Since most showers are screwed directly into a bathroom’s wall, you can use an electric screwdriver to unfasten the screws. Once you finish unfastening the screws, remove your previous shower from your bathroom’s wall.
Familiarize yourself with different parts of the electric shower. For example, you can check whether the water outlet is compatible with your electric shower. The electric shower might fit perfectly on the same spot that the previous shower was fitted in in some instances.
However, in most instances, you might be required to make some adjustments to fit the electric shower perfectly. The water supply pipe should be on the same level as your shower unit. Not to mention, the water supply pipe would be close to the inlet pipe of your shower unit.
Furthermore, it would be best if you should also examine the electrical connections to check whether the electric shower fits correctly or not.
View this post on Instagram
Step 3: Determine Where You Will Fit an Electric Shower
Once you finish removing the old shower, you need to determine where you will position your electric shower. Remove the shower enclosure casing, then place the shower unit on the wall. Use a pencil to trace out the lines of the shower unit on the bathroom wall.
Some electric showers may come with a template and a shower installation guide that gives more insight into the shower unit’s internal parts.
Once you trace out the lines, use a power drill to drill holes on your bathroom wall. Use the low-torque setting to prevent the formation of cracks on your wall tiles. It would be best to use a tile bit while drilling holes on your bathroom wall. After that, insert some plugs on the fixing holes. Wall plugs make it easier for you to drive screws into a wall.
Step 4: Secure Your Electric Shower on the Wall
The next thing that you need to do is to secure the electric shower on your bathroom wall. Place it on the wall, then secure it to the wall using screws. Tighten the screws completely to prevent any movements.
Step 5: Connect the Electrical Cable to the Shower

Connect the electric shower to the power supply cable. Make sure that your electric cable is long enough to fit on the electrical slots. The wires should reach the shower unit position. Cut the electric cable’s plastic coating with a pair of tin snips to expose the other three wires. After that, use wire strippers to cut the plastic coating on the three wires found in the electric cable.
Connect the three wires to the electric slots on your shower. The brown wire is the live wire. The green wire is the earth wire, while the blue wire is the neutral wire. The electrical slots have different colours that guide you through this process.
Feed the electric cable to the electric slots. Secure the wires to the electric slots with screws. After that, cover the shower with the plastic casing that you had removed earlier on.
Step 6: Secure the Shower Head and the Shower Rail to the Wall
Most electric showers come with plastic brackets that allow you to secure the shower rail to the wall.
Use a spirit level to mark a straight line on your wall. The line should act as the centre line for the holes that you are about to drill.
Place the plastic bracket on one end of the line, then mark the place where you will drill the hole. After that, put the bracket on the other end of the line and mark the point where you will drill.
Drill the holes. Insert wall plugs into the holes, then secure the plastic brackets to the wall with some screw. Secure the shower rail to the plastic brackets. Connect the showerhead to the main shower unit with a hose.
View this post on Instagram
Step 7: Test Whether the Shower Works
After that, test whether the shower works efficiently or not. Apply some silicone sealant on the hole where the electric cable and the plumbing pipe passes through. You can use a cable detector to examine whether your electrical cable is fully covered or not.
To Sum It Up
So how do you install an electric shower? While it is an easy DIY task, you have to be quite cautious while doing it. Make sure that you switch off the electricity from the consumer unit. You should also switch off the mains water source unit while working on your shower unit. Once you finish installing the shower on your bathroom wall, test it to see whether it works efficiently or not. After that, clean the area you were working on. Get rid of the waste materials that might have been on your bathroom’s floor. You can use a mop to clean the bathroom surface.
Additional Resources
- What Is an Electric Shower
- What Size Electric Heater Do I Need
- What Type of Electric Heater is Most Efficient
Ian loves everything that revolves around the home improvement niche. He loves trying out new home appliances. He has also handled a lot of equipment and has a lot of insight. Plus, he’s worked on various home improvement projects that became a success. If Ian isn’t busy working on his latest project, you can find him reading up about another one!